nikon d300 user manual

The Nikon D300 user manual is your comprehensive guide to mastering this 12.3-megapixel DSLR. Designed for durability and high performance, the D300 offers advanced features like precise autofocus, adjustable ISO, and a 3-inch LCD for enhanced creativity. Understanding the manual is key to unlocking its full potential, whether you’re a professional or an enthusiast, ensuring you capture stunning images with ease and precision.
1.1 Overview of the Nikon D300
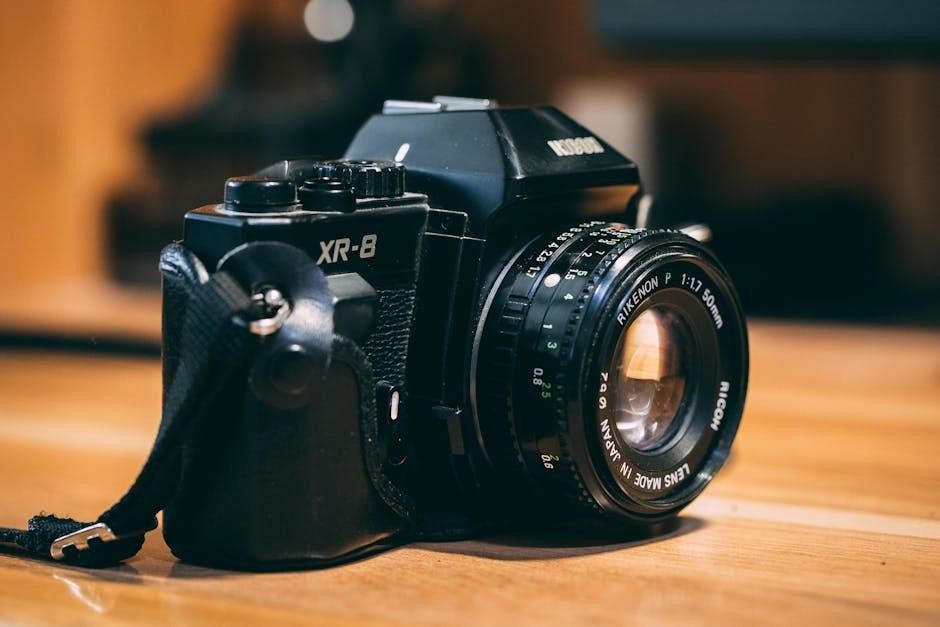
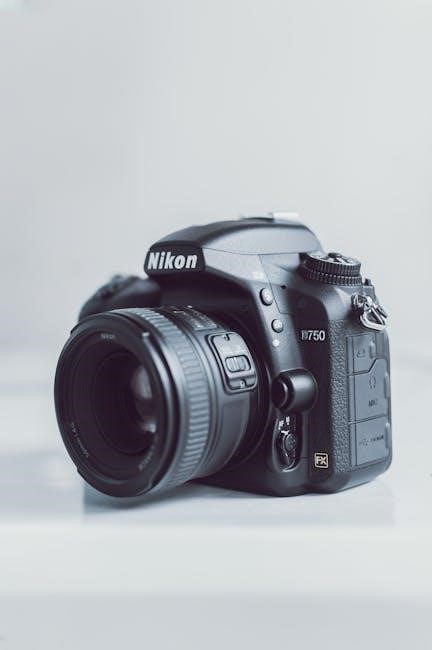
The Nikon D300 is a 12.3-megapixel DSLR camera featuring a CMOS sensor, delivering high-quality images with excellent detail and color accuracy. Its sturdy, weather-sealed body weighs 825 grams, with dimensions of 147 x 114 x 74 mm. The camera includes a 3-inch LCD screen, advanced autofocus options, and ISO sensitivity up to 6400. Designed for versatility, it supports CF memory cards and a wide range of Nikon lenses, making it a reliable choice for photographers.
1.2 Importance of Understanding the Manual
Understanding the Nikon D300 manual is essential for maximizing its capabilities. It provides detailed guidance on advanced features like autofocus, ISO settings, and white balance, ensuring optimal image quality. By mastering the manual, users can unlock creative potential, troubleshoot issues, and customize settings to suit their photography style, making it an indispensable tool for both professionals and enthusiasts aiming to achieve exceptional results.
Camera Specifications and Design
The Nikon D300 is a 12.3-megapixel DSLR featuring a CMOS sensor, 3-inch LCD, and robust build. Weighing 825g with dimensions of 147x114x74mm, it offers durability and portability for versatile photography needs.
2.1 Key Features of the Nikon D300
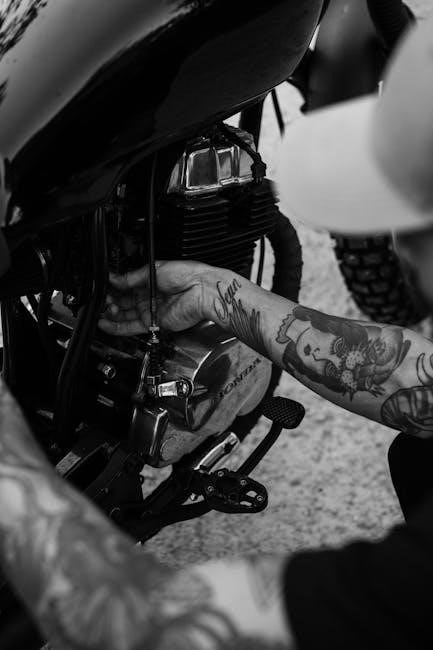
The Nikon D300 boasts a 12.3-megapixel CMOS sensor, offering sharp images and excellent low-light performance. It features a 3-inch LCD screen for clear image review, a robust weather-sealed body, and advanced autofocus with 51 AF points. The camera supports ISO 200-3200, expandable to 6400, and offers 6 fps continuous shooting. Its built-in flash and compatibility with CF cards enhance versatility for professional-grade photography.
2.2 Physical Dimensions and Build Quality
The Nikon D300 measures 147mm in width, 114mm in height, and 74mm in depth, weighing approximately 825 grams. Its robust magnesium alloy body ensures durability and resistance to harsh conditions. The ergonomic design provides a comfortable grip, while the weather-sealed construction protects against dust and moisture, making it suitable for professional use in various environments. This sturdy build quality complements its portability, offering reliability for photographers on the go.
Shooting Modes
The Nikon D300 offers a variety of shooting modes, including Aperture Priority, Shutter Priority, Manual, Auto Mode, and Scene Settings, providing flexibility and creative control for photographers.
3.1 Aperture Priority, Shutter Priority, and Manual Modes
The Nikon D300 offers Aperture Priority (A), Shutter Priority (S), and Manual (M) modes for precise control. Aperture Priority lets you set the f-stop, controlling depth of field, while Shutter Priority allows you to adjust shutter speed for motion effects. Manual Mode gives full control over both aperture and shutter speed, enabling advanced creativity and customization for professional-grade photography.
3.2 Auto Mode and Scene Settings
The Nikon D300 features an Auto Mode for effortless shooting, automatically adjusting settings for optimal results. Scene Settings, such as Portrait, Landscape, and Close-Up, tailor camera parameters to specific subjects. These modes simplify photography, allowing users to focus on composition while the camera handles exposure, ISO, and flash settings. Customization options ensure flexibility, making it easy to adapt to various lighting conditions and creative goals.

Autofocus Settings
The Nikon D300 offers advanced autofocus options, including Single-Servo AF for stationary subjects and Continuous-Servo AF for moving subjects. Customizable AF modes enhance precision and control.
4.1 Single-Servo AF and Continuous-Servo AF
The Nikon D300 features two primary AF modes: Single-Servo AF (AF-S) for stationary subjects, focusing once when the shutter is pressed, and Continuous-Servo AF (AF-C) for tracking moving subjects, adjusting focus continuously. These modes ensure sharp images in various shooting scenarios, with customizable settings allowing photographers to tailor AF performance to their specific needs for optimal results every time.
4.2 AF Lock Feature and Customization
The Nikon D300’s AF Lock feature allows photographers to lock focus on a specific subject, ensuring sharp images even when recomposing shots. Customization options enable users to assign AF Lock to specific buttons, providing quick access and enhancing workflow efficiency. This feature is particularly useful in dynamic shooting situations, offering precise control over focus for professional-grade results.

ISO Sensitivity and Noise Reduction
The Nikon D300 offers ISO sensitivity from 200 to 6400, enabling shooting in various lighting conditions. Its noise reduction system minimizes grain, ensuring clear images even at high ISO settings, making it ideal for low-light photography and professional results.
5.1 Adjusting ISO Settings
To adjust ISO settings on the Nikon D300, press the ISO button on the top of the camera and rotate the sub-command dial to select the desired value. The ISO range spans from 200 to 6400, allowing flexibility in various lighting conditions. Lower ISOs (200-800) are ideal for bright environments, while higher ISOs (1600-6400) are better for low-light situations. Use high ISOs cautiously to minimize noise and ensure sharp images.
5.2 Managing Noise at High ISO Values
High ISO settings on the Nikon D300 can introduce noise, especially in low-light conditions. To minimize this, enable the camera’s built-in noise reduction feature or shoot in RAW for better post-processing control. Use external noise reduction software like Lightroom for optimal results. Properly exposing images and using lower ISOs when possible also helps reduce grain and maintain image clarity.
White Balance and Color Accuracy
White balance ensures accurate colors in various lighting conditions. The Nikon D300 offers options like Auto, Fine, Flash, Fluorescent, Incandescent, Manual, Shade, and Sunny for precise color reproduction. Custom settings enhance accuracy, capturing true-to-life hues in every shot.
6.1 Understanding White Balance Options
The Nikon D300 offers multiple white balance options to match different lighting conditions. Choose from Auto, Fine, Flash, Fluorescent, Incandescent, Manual, Shade, and Sunny modes. Auto mode automatically adjusts colors, while Fine, Flash, and others provide specific adjustments for precise color accuracy. Custom white balance allows manual settings for unique environments, ensuring your images always display true-to-life colors and tones, enhancing overall image quality and visual appeal effectively always.
6.2 Custom White Balance for Precision
The Nikon D300 allows precise control over white balance with its custom setting. Use a gray card or white object to measure lighting conditions and set a custom balance. This ensures accurate color representation in specific environments. Access the custom white balance option through the menu, providing unparalleled control for professional-grade results in any lighting scenario, enhancing image accuracy and creative intent effectively always.
Flash and External Lighting
The Nikon D300 features a built-in flash for convenient fill lighting and supports external flash units for enhanced creativity. Adjust flash settings to suit your photography needs.
7.1 Using the Built-In Flash
The Nikon D300’s built-in flash provides convenient fill lighting for capturing well-balanced images. To activate it, press the flash button on the front-left side, then slide the flash release lever to pop it up. The flash offers modes like Auto, Red-eye reduction, and Slow synchronization, allowing customization for diverse lighting scenarios. Adjustments can be made using the camera’s menu system for precise control over flash output and synchronization settings.
7.2 Syncing with External Flash Units
The Nikon D300 supports external flash units for enhanced lighting control. To sync an external flash, attach it to the camera’s hot shoe or connect via a sync cable. Navigate to the camera’s menu to enable external flash synchronization. The D300 offers modes like Front-Curtain and Rear-Curtain sync for creative effects. Adjust the external flash power levels through the menu for precise lighting control, ensuring balanced and professional-quality results in various shooting conditions.

Image Quality and File Formats
The Nikon D300 delivers high-quality images with its 12.3-megapixel CMOS sensor. It supports NEF (RAW), JPEG, and TIFF formats, offering flexibility for photographers. Image quality settings include resolutions like 4288×2848 pixels and compression options to balance file size and detail. Customizable color modes enhance creativity, ensuring optimal results for various shooting scenarios.
8.1 Resolution and File Format Options
The Nikon D300 offers multiple resolution settings, including 4288×2848, 3216×2136, and 2144×1424 pixels, catering to different image quality needs. File formats include NEF (RAW), JPEG, and TIFF, providing flexibility for photographers. RAW files preserve maximum detail for post-processing, while JPEG offers compressed convenience. The camera also supports compression levels, allowing users to balance file size and image quality efficiently for their specific requirements.
8.2 Compression and Storage Settings
The Nikon D300 allows users to manage file compression and storage efficiently. It supports CF, CF Type II, and MicroDrive memory cards, offering flexible storage options. Compression settings enable balancing between file size and quality, while the camera’s menu system provides easy access to adjust these parameters, ensuring optimal storage usage and maintaining image quality according to your photographic needs and preferences.
Playback and Review Options
The Nikon D300 offers intuitive playback options, allowing users to review images on its 3-inch LCD. The histogram feature aids in exposure assessment, while navigation is seamless.
9.1 Navigating Playback Modes
Use the multi-selector to scroll through images in playback. Press the zoom buttons to enlarge or reduce image views. The histogram can be accessed via the multi-selector’s up/down directions, aiding exposure evaluation. Delete unwanted images with the trash button. This intuitive system allows efficient review and management of your photos, ensuring a seamless post-shooting experience with the Nikon D300.
9.2 Using the Histogram for Exposure Check
The Nikon D300’s histogram provides a visual representation of image brightness distribution. Access it during playback using the multi-selector. Peaks on the left indicate dark areas, while those on the right show bright regions. Use this tool to check exposure balance, ensuring no blown highlights or underexposed shadows. This feature aids in making precise adjustments for optimal image quality and exposure accuracy.
Menu Navigation and Customization
The Nikon D300’s menu system offers intuitive navigation, allowing users to customize settings like image quality, autofocus, and ISO sensitivity. Personalize your shooting experience with ease and precision.
10.1 Understanding the Menu System
Mastering the Nikon D300’s menu system is essential for optimizing its performance. The camera features an intuitive menu interface, accessible via the MENU button, offering options like Shooting Menu, Setup Menu, and Retouch Menu. Navigate using the multi-selector and OK button to adjust settings such as image quality, autofocus modes, and ISO sensitivity. Each menu category is organized logically, making it easy to locate and customize settings for enhanced shooting efficiency and personal preference.
10.2 Customizing Camera Settings
The Nikon D300 allows extensive customization to tailor camera settings to your preferences. Use the multi-selector and OK button to navigate through menus and adjust options such as button assignments, shooting modes, and autofocus settings. You can also save custom configurations for quick access, ensuring your camera is optimized for your unique shooting style. This flexibility enhances efficiency and personalizes your photography experience.
Accessories and Maintenance
The Nikon D300 supports CF, CF Type II, and MicroDrive memory cards for storage flexibility. Regularly clean the camera and sensor with a soft cloth to maintain performance and image clarity. Use compatible lenses to enhance functionality and ensure optimal results for your photography needs.
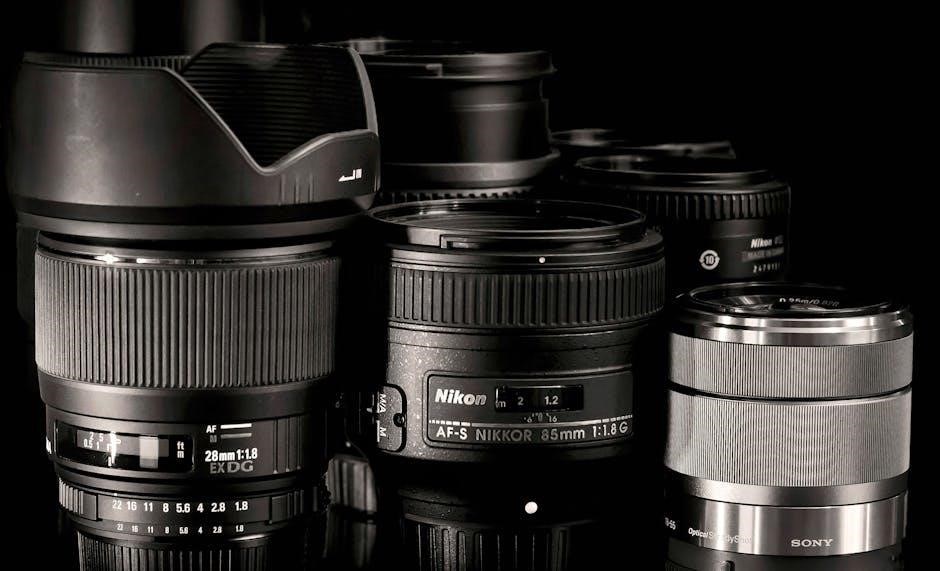
11.1 Compatible Lenses and Memory Cards
The Nikon D300 is compatible with a wide range of Nikon F-mount lenses, offering flexibility for various photography needs. It supports CF, CF Type II, and MicroDrive memory cards, providing ample storage options. Using genuine Nikon accessories ensures optimal performance and compatibility, allowing photographers to capture high-quality images with ease and reliability.
11.2 Cleaning and Maintaining the Camera
Regular cleaning is essential for maintaining the Nikon D300’s performance. Use a soft, dry cloth to wipe the exterior and LCD screen; For the image sensor, utilize the “Lock mirror up for cleaning” feature in the setup menu and gently clean with a brush or compressed air. Avoid touching the sensor directly. Store the camera in a cool, dry place, and consider professional servicing for internal maintenance to ensure optimal functionality and longevity.